Locations & Folders
How Invy's folder tree works, and how to make it match your organization.
Invy organizes everything around a folder tree — a nested set of locations that mirrors how your space is actually laid out. There’s no fixed “Department → Location → Bin” structure; you build the tree as deep or as shallow as you need, and you can rename each tier to match your own vocabulary.
The folder browser
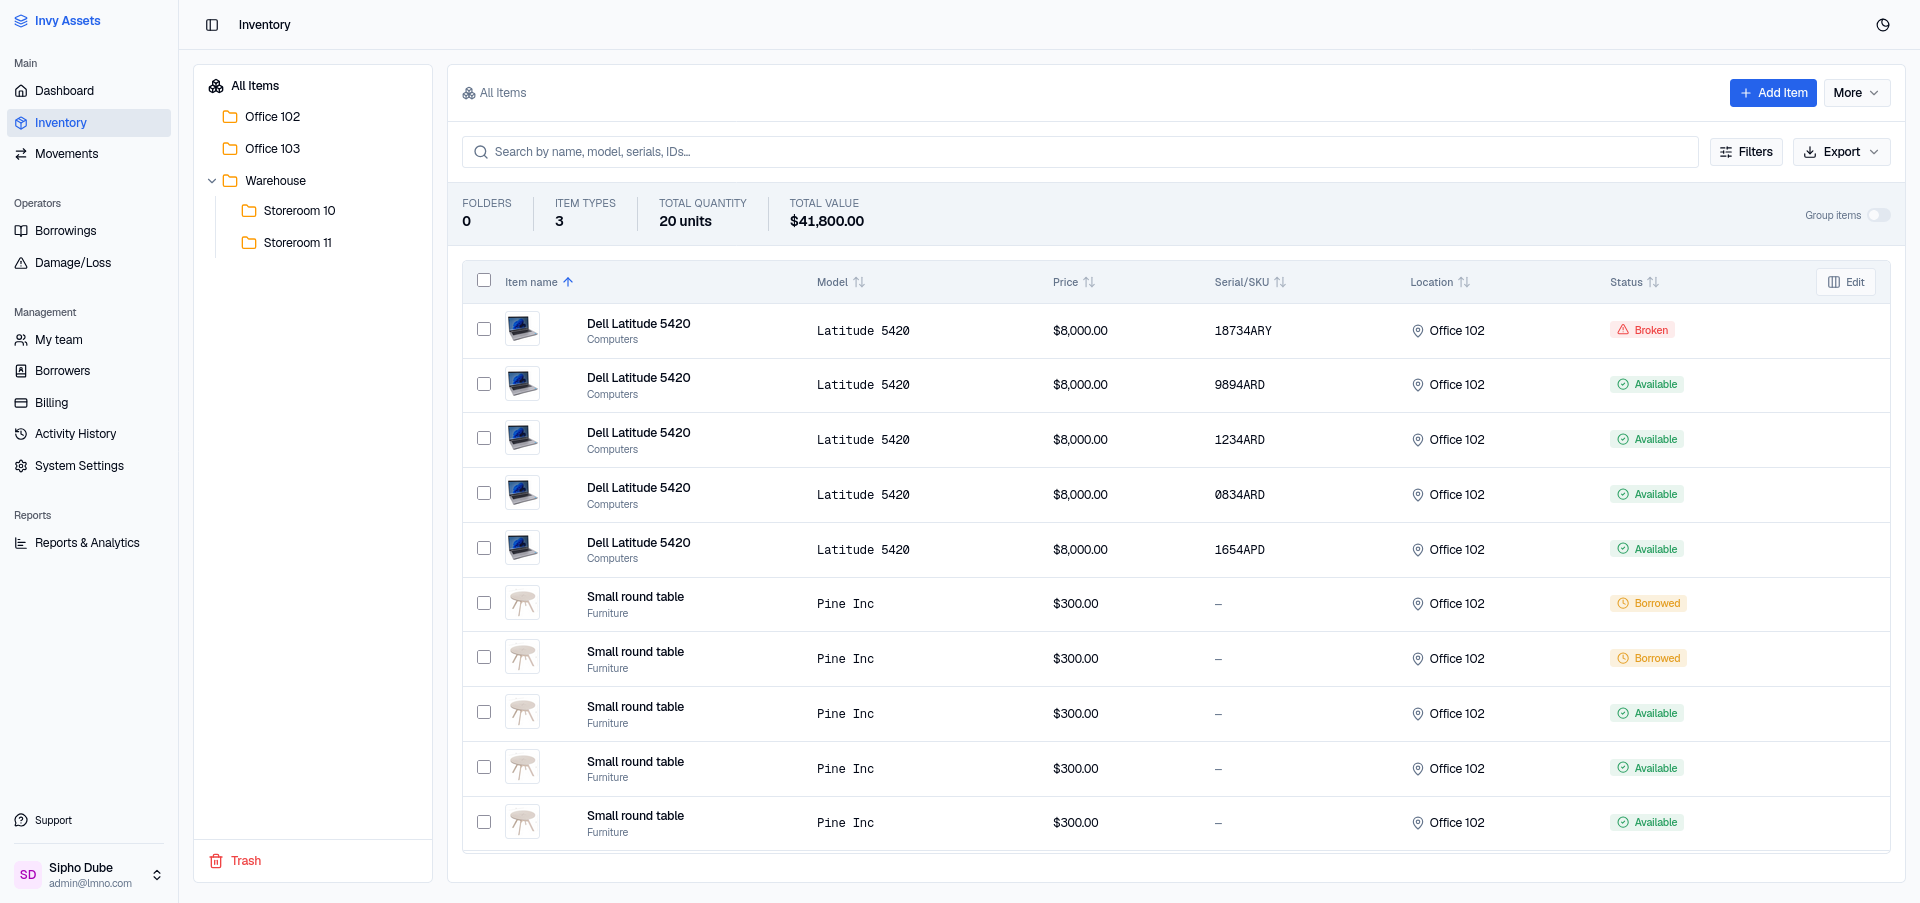
Your Inventory page is the folder browser — there’s no separate page for locations. It’s a two-pane view: the folder tree on the left, and the selected folder’s contents (sub-folders, items, and units) on the right.
Creating folders
- Open Inventory.
- Click More (next to Add Item), then New folder.
- Name it and choose a parent folder, or leave it at the top level.
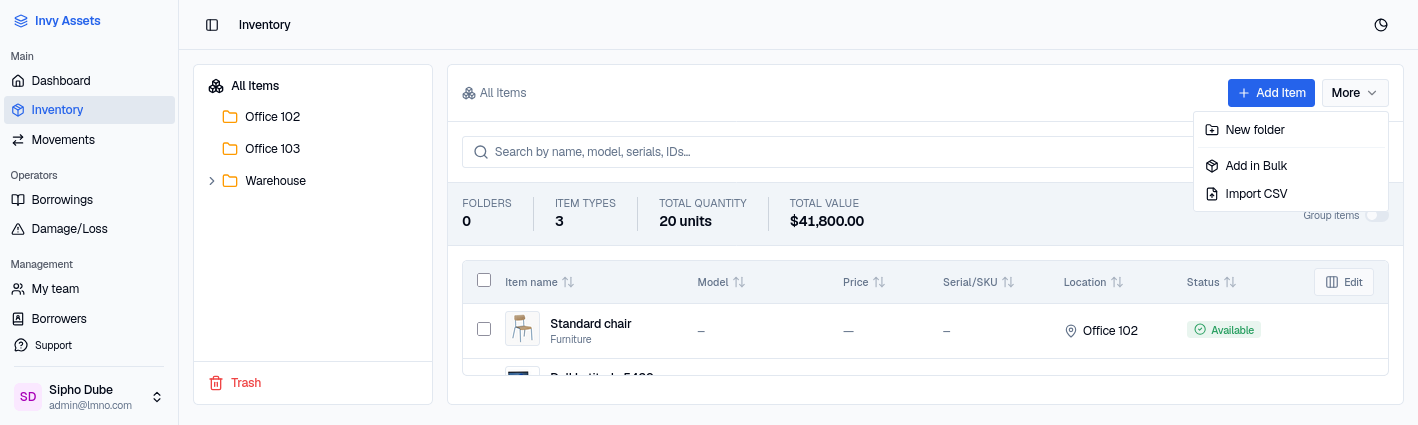
New folder opens the folder form:
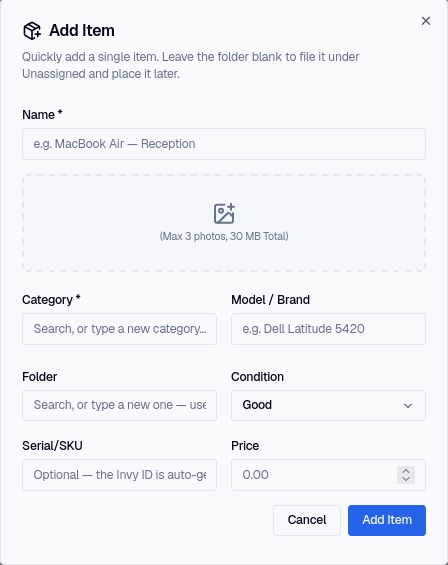
Only Name is required. Tag is an optional label like “Warehouse” or “Client site”, Notes is free text about the folder, and Parent folder decides where it sits — leave it blank to create a top-level folder.
You don’t have to create parents first: type a path with / in either the name or parent field — Campus A / Room 4 — and Invy creates the missing levels for you.
You can nest folders as deep as you like — a common pattern is:
Warehouse A
└── Rack 12
    └── Shelf 3
Move a folder to a new parent at any time by dragging it or using the Move action — its full contents (sub-folders, items, and units) move with it.
The first-run folder wizard
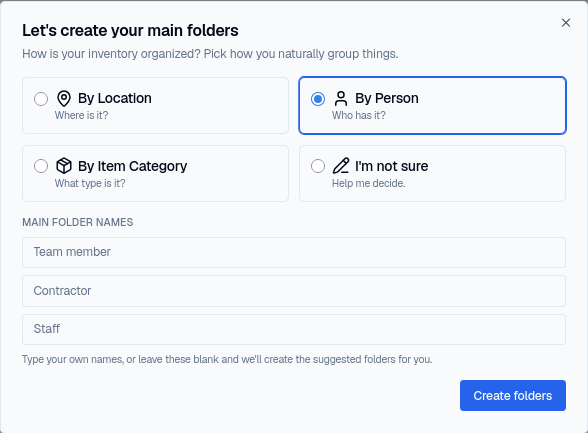
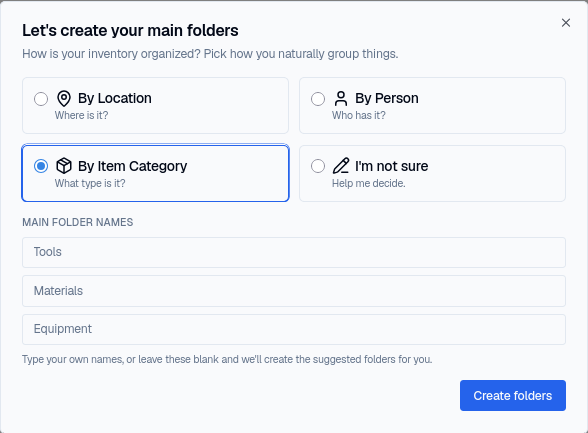
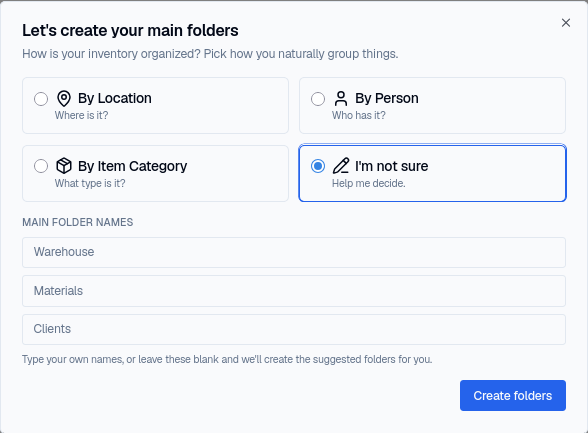
The first time you set up an organization, Invy can offer a short wizard — “Let’s create your main folders” — asking how your inventory is naturally organized. Pick an approach and it suggests three starting folder names to match, which you can overwrite with your own or leave blank to accept.
By Location — physical places (buildings, rooms, sites). Suggests Main Location, Storage Area, Truck.
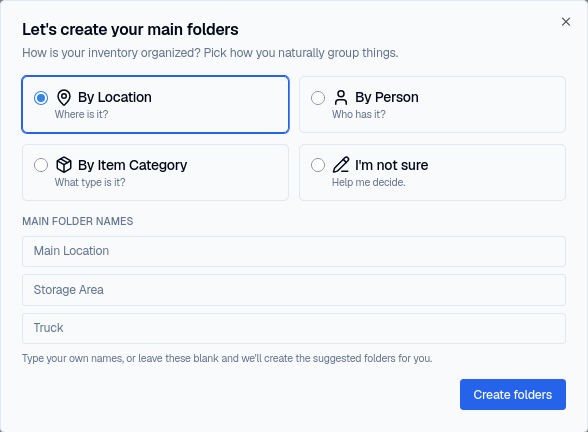
By Person — who currently has custody of things. Suggests Team member, Contractor, Staff.
By Item Category — grouped by what the items are. Suggests Tools, Materials, Equipment.
I’m not sure — a generic starting structure you can rename later. Suggests Warehouse, Materials, Clients.
Whichever you pick just seeds a few starting top-level folders — nothing is locked in. You can always add, rename, or restructure folders afterward. If you skip the wizard, folders are simply created inline the first time you add an item or units, so there’s no requirement to plan your whole tree up front.
Naming your folder tiers
By default, Invy calls the three folder tiers Folder → Sub-folder → Spot, reused for anything nested deeper. If that doesn’t match how your team talks about your space — e.g. “Warehouse → Rack → Shelf”, or “Site → Building → Room” — you can rename them:
- Go to System Settings → Organization.
- Scroll down to the Terminology section.
- Set your own labels for each tier.
The new labels appear everywhere in the app immediately — in the folder tree, forms, and reports.
Deleting and restoring folders
Deleting a folder sends it (and everything in it) to Trash, reachable from the folder page sidebar. Nothing is permanently removed until you empty the trash, so a mistaken deletion is always recoverable — see Trash & Recovery for the full workflow.
Next steps
- Now that you have folders, add items and place units in them.
- Migrating from a spreadsheet? Import your inventory via CSV instead of adding folders one at a time.