System Settings
Organization details, categories, and SLA policies — the settings that shape how the rest of Invy behaves.
System Settings has four tabs: Organization, Categories, SLA Configuration, and Role Permissions.
Organization details
The Organization tab holds your org’s name, type, description, address, and logo — this information shows up on exported reports and PDFs — plus your currency setting and the folder terminology labels, further down the same tab.
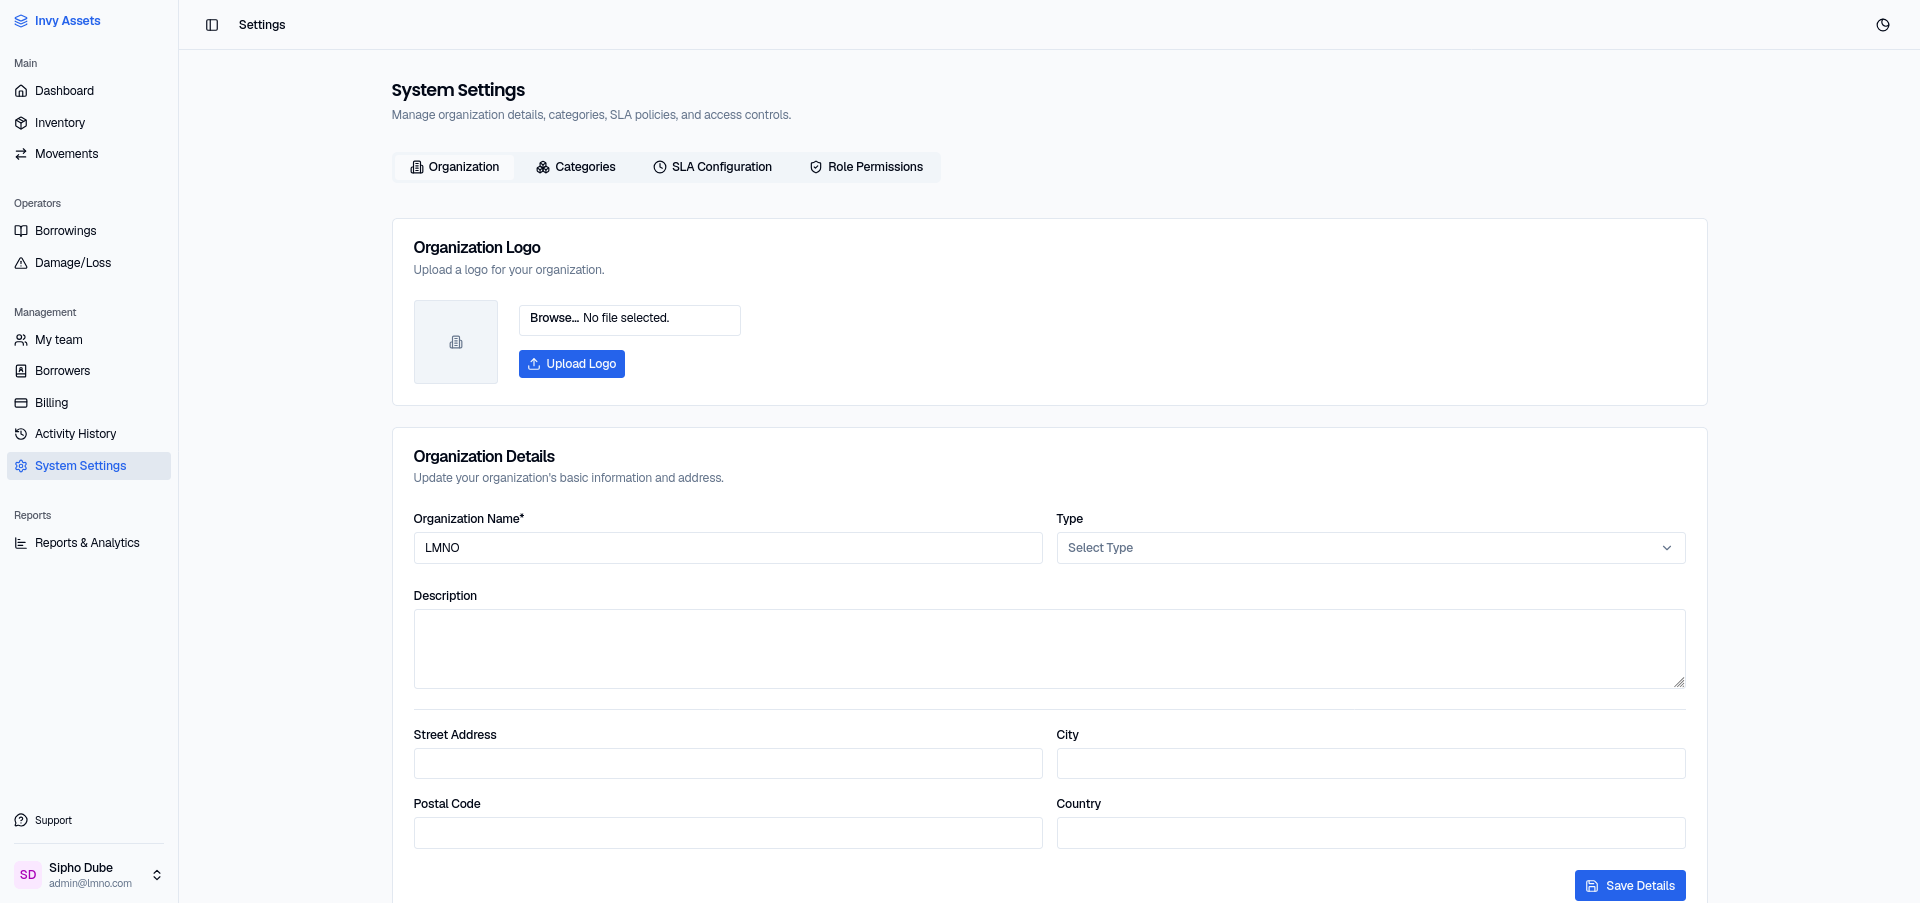
Only Organization Name is required. Upload a logo at the top of the tab, and click Save Details to apply changes to the rest.
Your organization name is also printed across the top of every asset label, so a unit found elsewhere can be identified as yours.
Asset Labels
Further down the Organization tab, Asset Labels controls how printed unit labels come out: which label stock you print on (A4, Avery, Brother, Dymo, Zebra) and whether each label carries a QR code only or a QR code plus a Code128 barcode for handheld laser scanners.
Print Test Sheet produces one page of empty label outlines with a printed 50mm reference bar. Print it and measure that bar with a ruler before running a real batch — if it doesn’t measure 50mm, your print dialog is scaling the page, which is the cause of most label-alignment problems. See Printing Asset Labels.
Categories
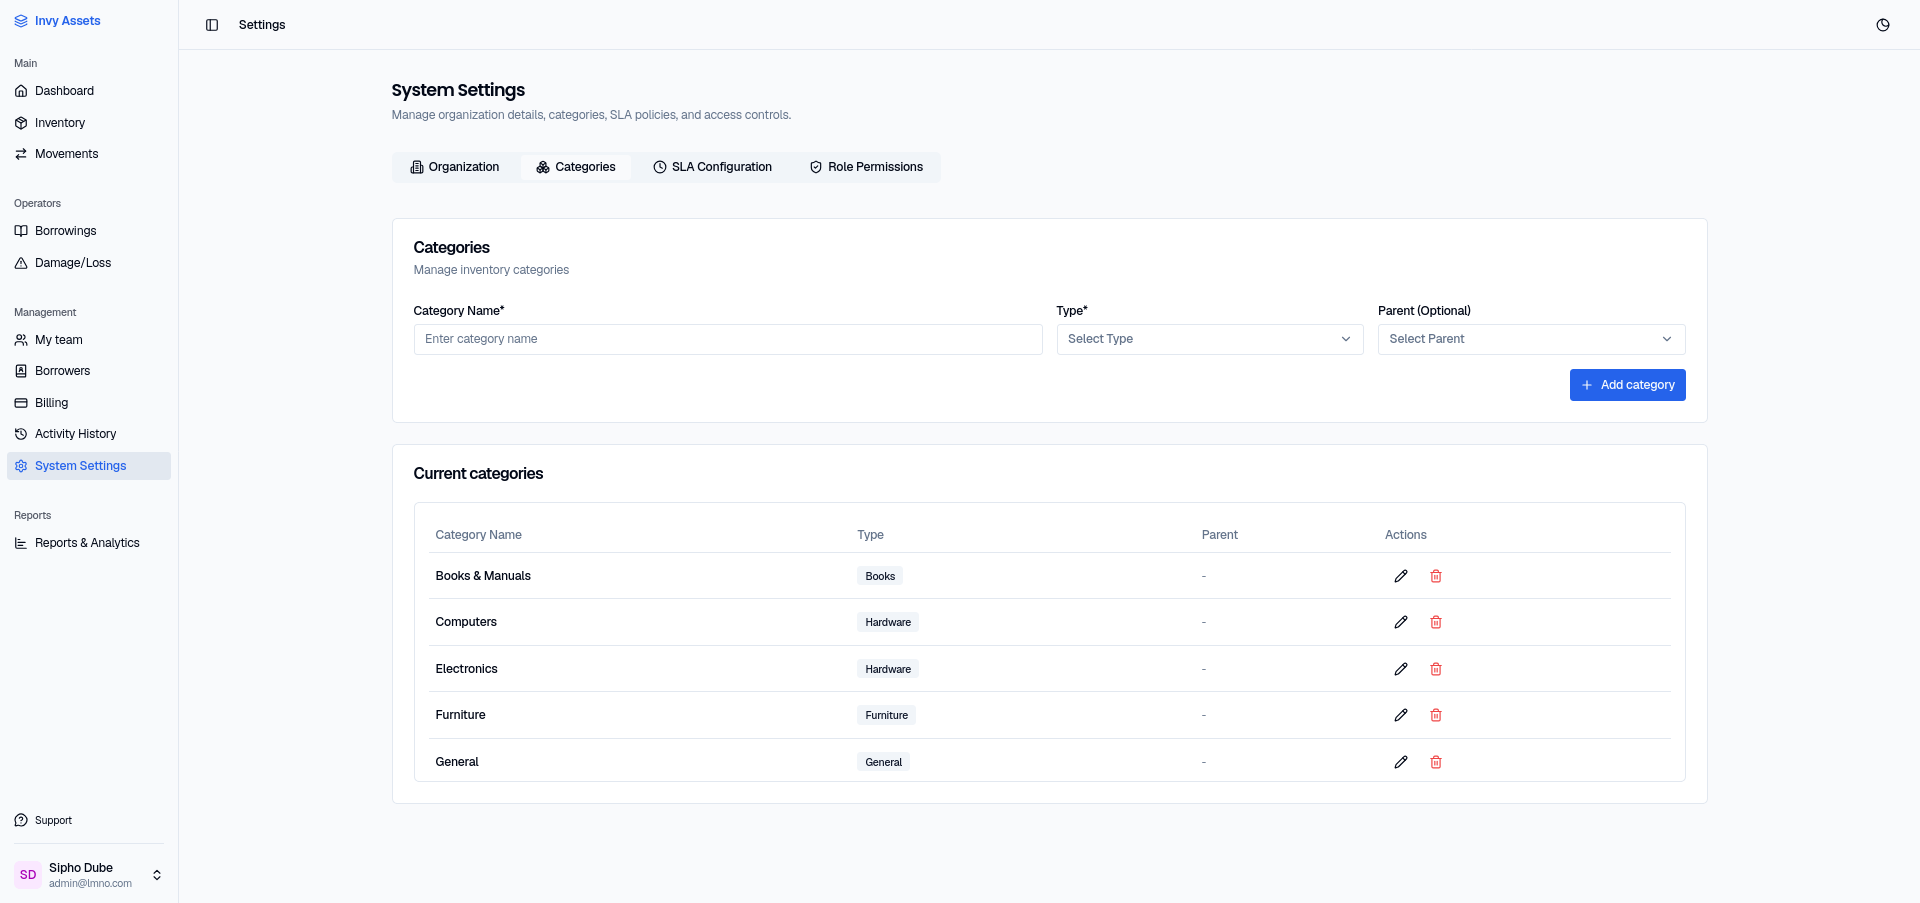
The Categories tab is where you manage the categories items can belong to (the same categories you see filtering the Inventory page and the Reports charts).
To add one:
- Open System Settings → Categories.
- Enter a category name.
- Pick a type (General, Hardware, Books, Furniture, Consumables, or Components).
- Optionally choose a parent category, to nest it under an existing one.
- Save.
SLA Configuration
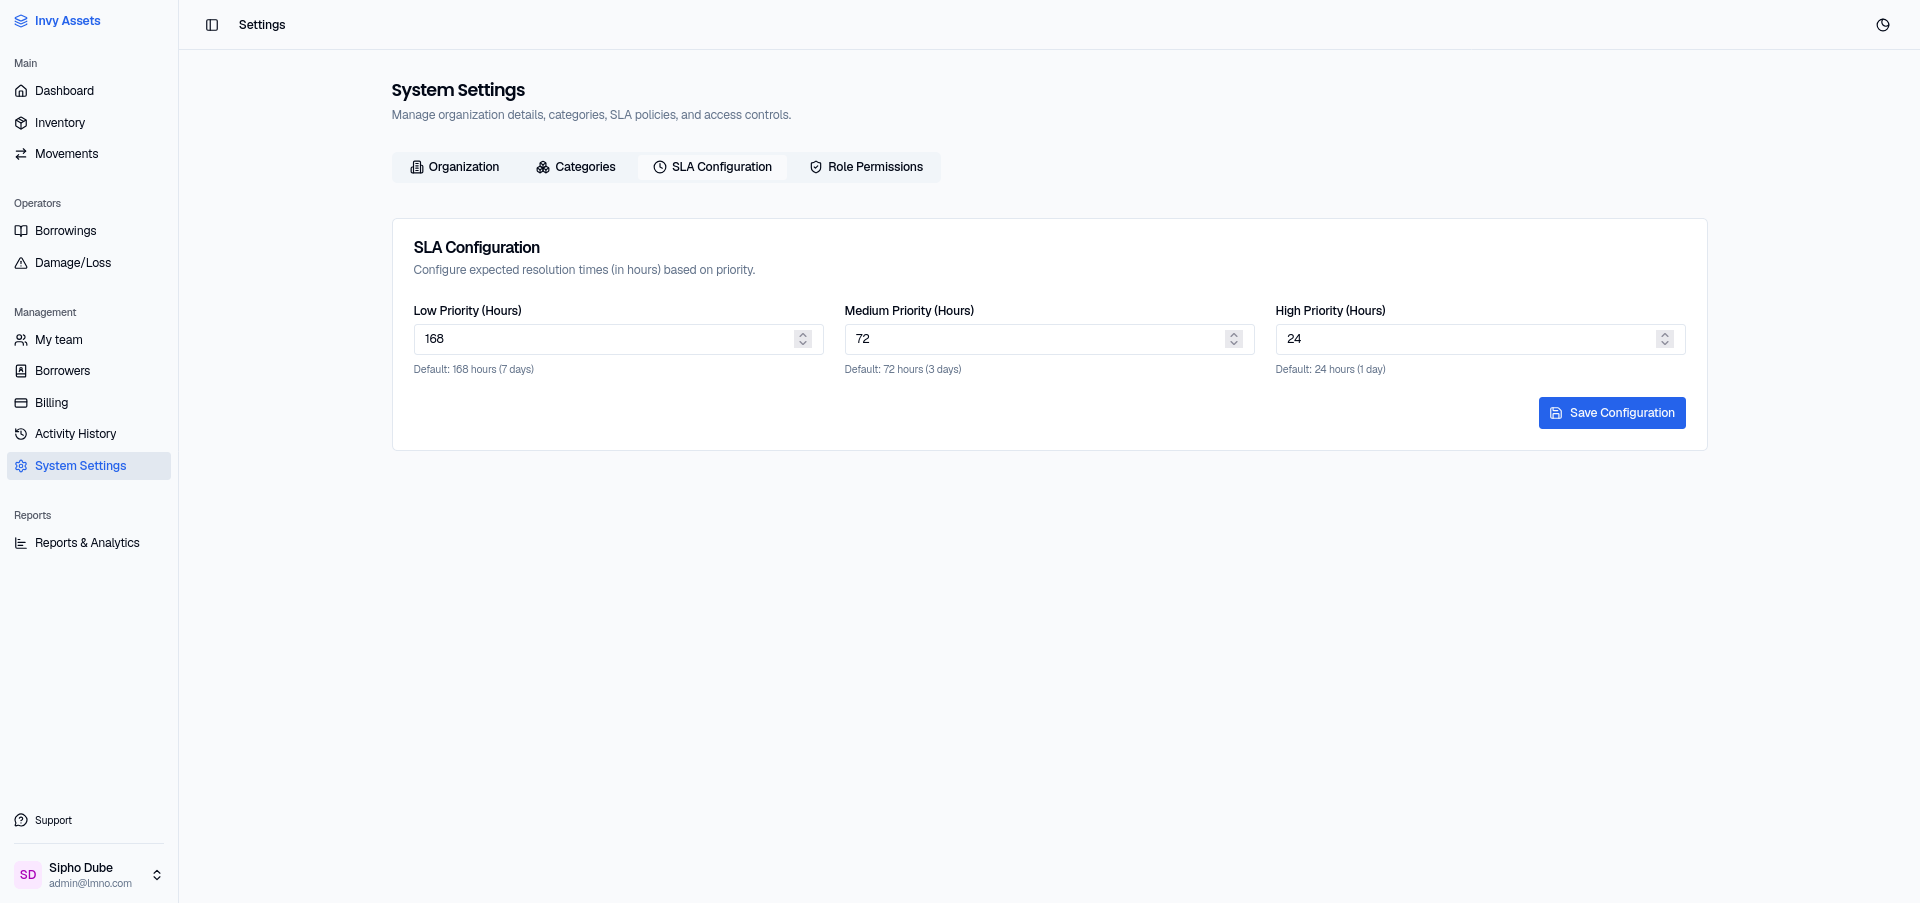
The SLA Configuration tab controls how long a damage or loss report has before it’s considered overdue, per priority level:
- Low priority — default 168 hours (7 days)
- Medium priority — default 72 hours (3 days)
- High priority — default 24 hours (1 day)
Change any of these to match your team’s real response times. Reports submitted without an explicit due date use these hours, counted from when the report was filed, to calculate one automatically.
Next steps
- Fine-tune role access in the Role Permissions tab.
- Rename your folder tiers to match your organization’s vocabulary.